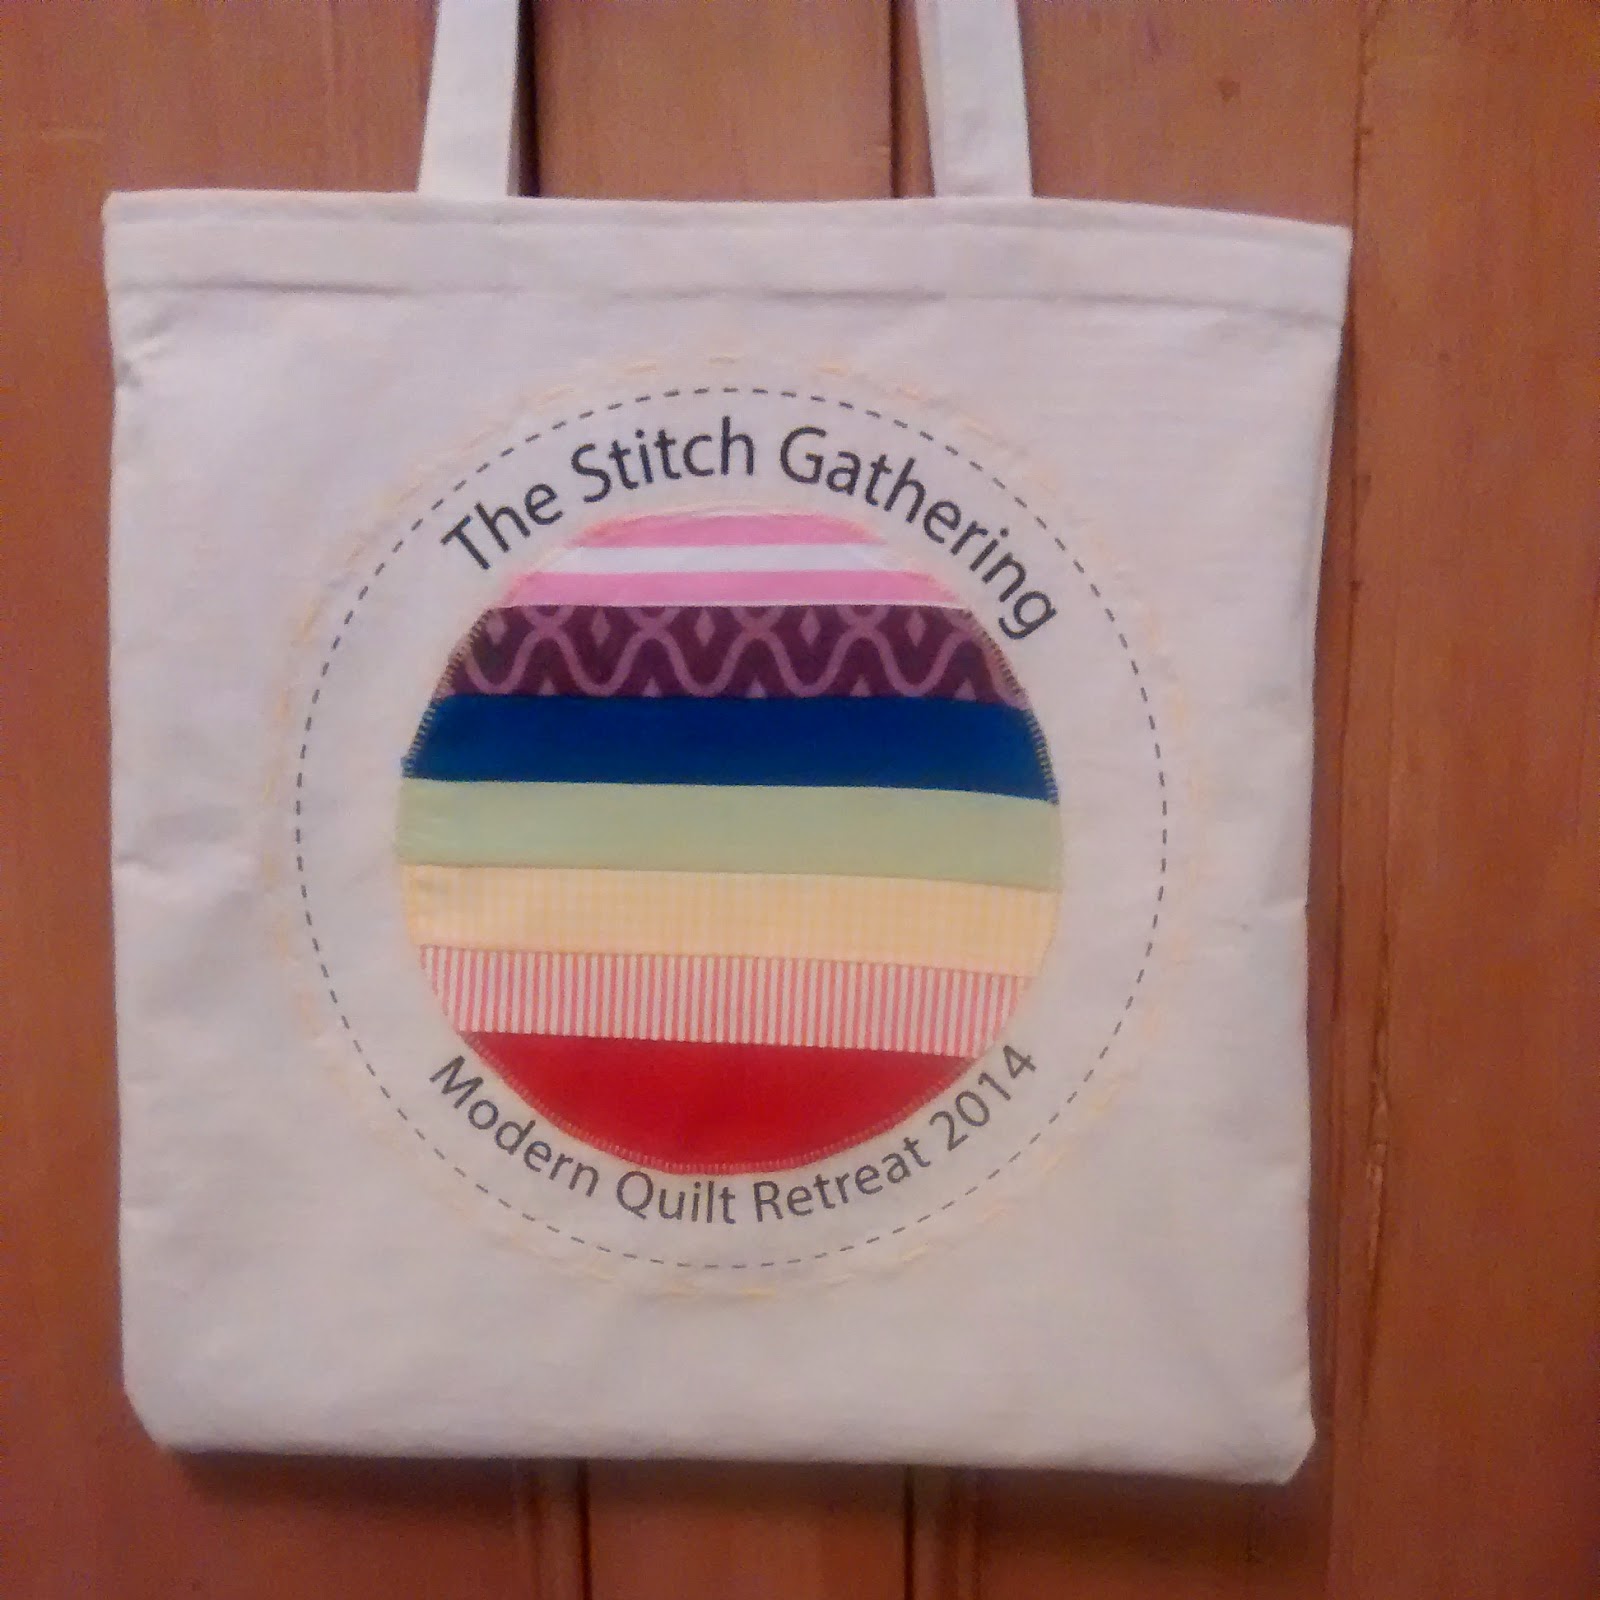
At the end of September, I attended the Stitch Gathering in Edinburgh. This is the third time I've been and the first time I finished the items I started - hooray!
I'm going to start with the pre-sewing and write up the classes and day itself in another post.
TICKET
The ticket for the Stitch Gathering is sent to you for embellishment and return at the end itself. This has previously been a quilt block and a canvas bag.
This year the brief was to embellish a piece of white cotton with a word - any word - which could be sewn up into a quilt.
I struggled for a long time to think of a word. My initial thought was democracy, but I didn't want anything too long. The night before the event itself when I was tearing my hair out, I decided to go with VOTE.
I cut the letters out of 3" by 3" squares, to represent the box on voting papers, and appliqued it onto the piece of cotton. I ironed it before I handed it in, I promise!
You can see some of the other fantastic words people came up with in Jo Avery's, My BearPaw and Stitch Gathering organiser, post here.
NAMETAG SWAP
For the name tag swap this year, I decided to make a little needle book which could be used after the event. The hook was attached to a string for wearing on the day but can hold scissors afterwards.
I made the pattern up, which meant I made lots of mistakes and this binding was on and off about three times before I got it right.
I used matchstick quilting on the outside and left negative space for my partners name.
NOTION SWAP
This was a new addition to the pre-sewing homework. Swappers were asked to make something for a partner which they could use as a sewing accessory.
I was flicking through Quilt Now Magazine and stumbled across a EPP kit case which I decided to make for my partner. Having a pattern for this one meant no mistakes!
It's bit wonky but I was super proud of this zip!
It turned out my partner is making a La Passacaglia quilt so this will come in handy - success!
I also had some other sewing to do in preparation for the big day which I'll show you in the next Stitch Gathering post!
I recently completed the largest quilt I've ever attempted, an 80" by 90" bed quilt. It was also the first time I've made a triangle quilt so I thought I'd share some hints and tips I picked up along the way, as well as some advice from others I really should have followed!
CUTTING
The quilt is made up of 540 triangles. I cut them using a template but there's lots of great tutorials out there on how to cut equilateral triangles. I would have used the 60 degree line on my mat and my ruler if I didn't have this template.
I was cutting them two - four at a time and then stacked them neatly, avoiding overhandling. I stacked in pIkea of 20 in ddifferent direction to keep count.
Advice which seems to pop up again and again on triangles is to use plenty of starch, as you end up with lots of bias edges which stretch when handled excessively. Now, I'm not a massive fan of starch (I don't think I've found the right one for me yet - any recommendations?) and so opted to skip this step, and decided to "just be careful". This was fine, but I definitely ended up with some stretch edges. I was lucky and manage to work it out when sewing them together, but if you're not up for gambling like me, I would starch them.
I used fat quarters (FQs) from my stash and specially purchased quarter yard width of fabric (WOF) strips, and got more triangles out of the FQs than the WOF strips. This was because I hadn't brought the template to the shop with me and didn't think the process through when I opted to buy WOF strips.
SEWING
As is probably apparent from the above, I tend to think of instructions as a guide rather than as a rigid formula which must be adhered to and I'm a massive fan of shortcuts! I don't normally pin. However, I have worked with squares until now and you can nest rows of seams together to get perfect points.
Discarding my usual lazy attitude, I was a good pinner with this quilt. Drawing inspiration from this post by Connecting Threads on using pins to create perfect points, I pinned every single point in the quilt.
I pinned through the points to make sure they lined up exactly. I left the pin in until I was within a stitch of it and then removed it.
My sewing machine is a beauty and allows you to regulate the speed at which you sew very easily. Sometimes I'd stop but sometimes I'd just slow right down. My sewing machine also lets you sew single stitches, which my previous model did not (there were only two states - stopped completely or a thousand stitches a minute!). This meant I could get very close before I removed the pin, reducing the chance of slippage.
Pinning was time consuming, but I got some of the best results I've ever achieved in quilting. There's a lesson in there somewhere....
I read this tutorial by Lorna at Sew Fresh Quilts. Her tip about pressing open the seams is one I wish I'd taken. You'll see from the photo below that I ended up with very bulky points. This really affected the quilting on those areas and it was difficult to stitch neatly, if at all, over the bumps.
I think pressing open the seams would have made life easier. I also wasn't able to take her tip about pressing in the same direction if you do opt to press your seams to the side because I sewed all my triangles into pairs before deciding on the layout. This would also have helped to reduce bulk.
BASTING AND QUILTING
I had to rearrange my living room in order to baste this monster quilt! I spent three hours crawling around on the floor and I thought it was been a great success.
I love stippling and really wanted to use this technique on this quilt. However, I was very pushed for time and thought that straight line quilting would both be quicker and give a more professional finish.
I managed three length-of-quilt lines before I had to accept that my basting was not tight enough and it was going to be baggier than I'd be happy with. I had to unpick the three lines, which took an entire evening. This is the second large quilt I've had to unpick quilting on and it is not a happy place. The stippling did mean I could tighten as I went which was good and I would recommend this technique if your basting is not up to much. It really helped to sort out any problems with the basting.
I would also swallow my pride and spray baste (at least partially) another huge quilt.
BINDING
I am absolutely delighted with the binding on this quilt and it's a real marker for me of how much I've improved. I machine bound it as the binding was the same as the backing fabric and, again, I was in a hurry. However, it was so neat and quilt I think I'm just going to accept that I much prefer it to hand binding, even though the latter is more discreet.
I watched this tutorial by the Missouri Star Quilt Company which has the best tip ever, and allows you to join your binding without an overlap. It's really smart.
ENJOY!
I really enjoyed making this quilt, so full of challenges and the excitement of the prospect of pulling it off. I watched this video by Angela Walters about quilting before I started and the tips she shared could apply to a lot of things in life, not just quilting.
I was working to a tight deadline to finish this quilt and it was obviously playing on my mind. I woke up in the middle of the night following a dream all about setting up a quilting department at my work! Now, it would be great if they had one, but I don't think it'd progress any of the aims of the corporate plan!
I finished the quilt for my husband, a gift for our first wedding anniversary, at about 15:30 on the day itself, having been locked away in the sewing room for much of the week. Not ideal, but I got there in the end!
In the final week I completed the top,
basted,
quilted,
squared up,
and bound the whole thing!
Basting was the first time I got to see the whole thing at once, and I was suddenly pretty intimidated with an overwhelming feeling I'd bitten off more than I could chew. I ploughed on though and was pretty chuffed with the results. This is the largest quilt I've made and although there were lots of learning curves (next post - right now I'm just reveling in the positives) I'm delighted with how it turned out.
Over the last month I have been working away at my quilt for my husband in a desperate bid to get it finished by next weekend. At this point, I have no idea whether I'm going to make it or not, but I think I can get close enough. Has anyone ever handed over a quilt with no binding, or with safety pins still securing the layers? Right, I better get on with it....
Here's how progress has gone so far:
I chain pieced every triangle to another one, just so there was a more manageable number of units to work with in the layout.
Next I laid out the rows. It's hard to keep it random and my natural instinct was to create patterns. The quilt is also so big I've laid it out in two parts, so the first time I see the whole thing together will be when I baste it. This is partly because I'm really struggling to keep this away from my husband. Every time I need the big picture, he's in the house and probably in the room most suitable for spreading out!
I sewed the triangle units into rows and then sewed the rows together.
I plan on writing a more technical post about this quilt but for now I'll say, despite their stretchy sides, triangles have not been as daunting as I thought and have provided more perfect points than any other shape.
I bought extra wide backing fabric and some queen sized wadding to baste this weekend, so this morning's job is to sew the last three rows together and BASTE! I'm torn between straight line quilting and stippling - any thoughts?